Dulkara Martig actualizes a nine-day dream trip packrafting Tasmania, down the Franklin River
By Dulkara Martig. Photos by Dulkara Martig and Ben Weigl.
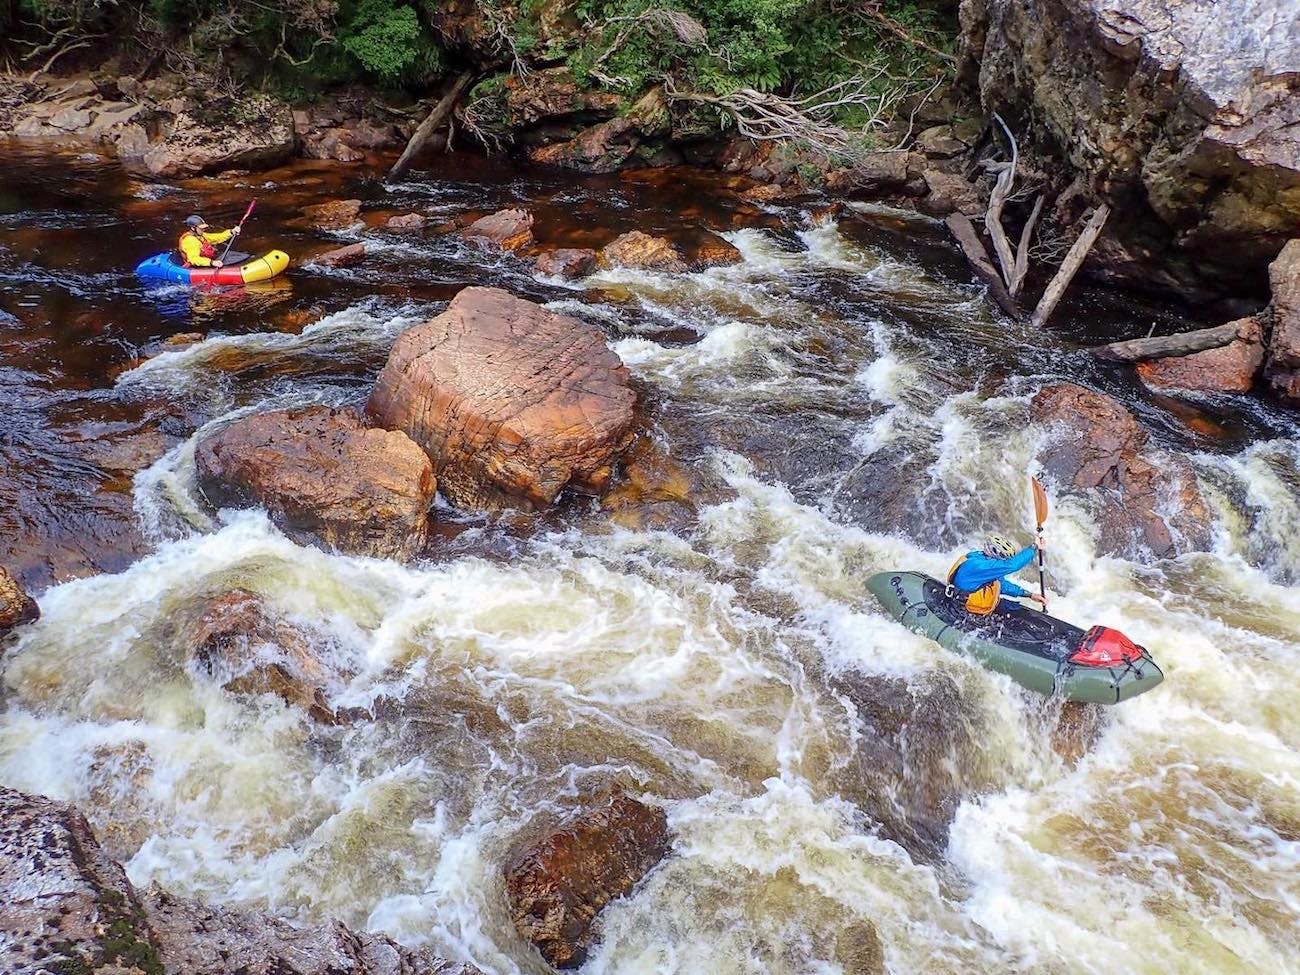
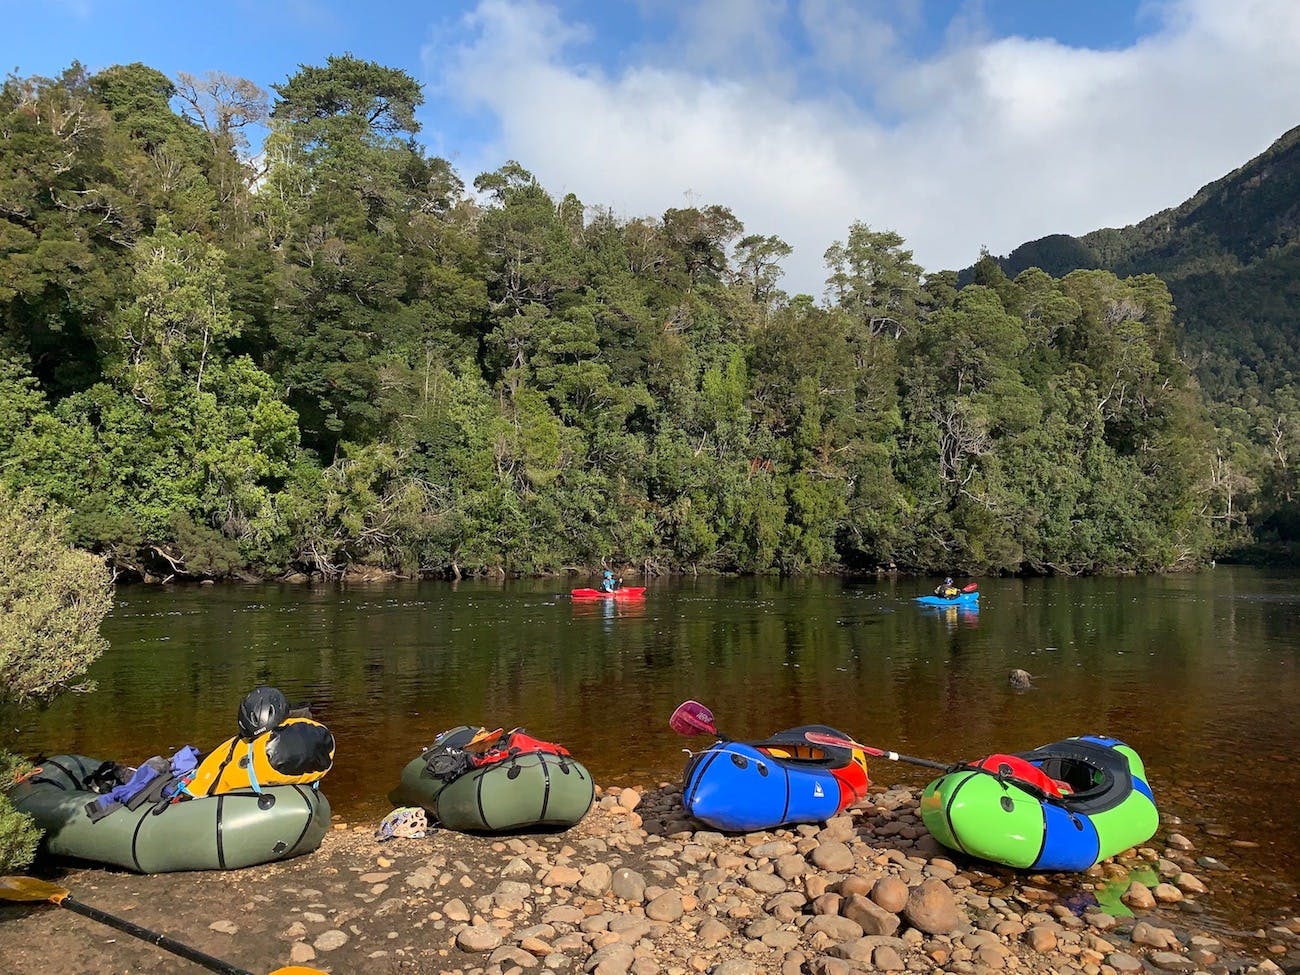
The Franklin River offers one of the most impressive multi-day whitewater journeys to be found anywhere. It winds its way 120 kilometers through one of the most wild and remote corners of the world–the 3.5 million acre pristine, untouched Tasmanian World Heritage Area.
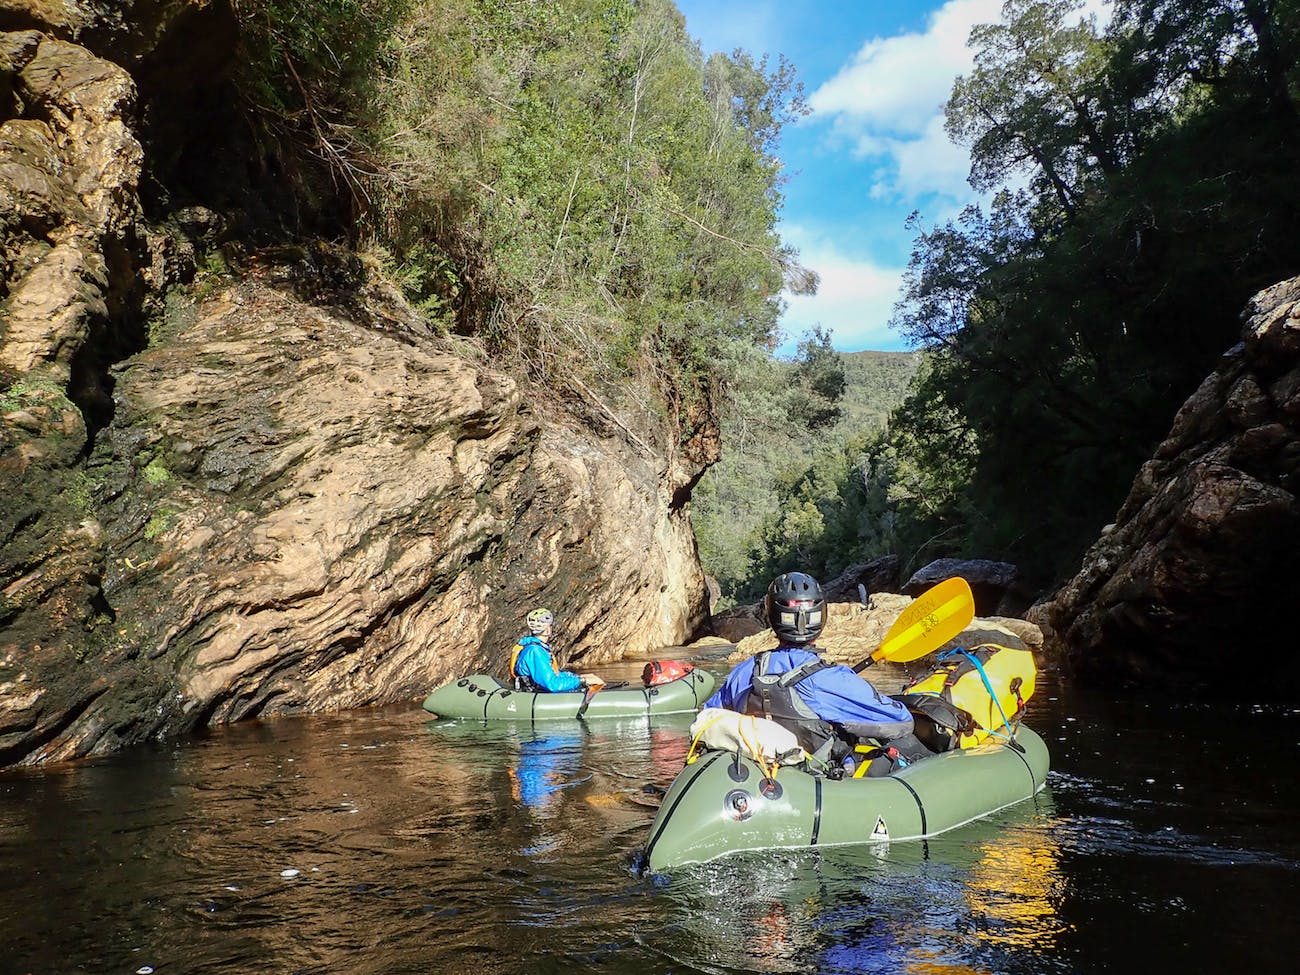
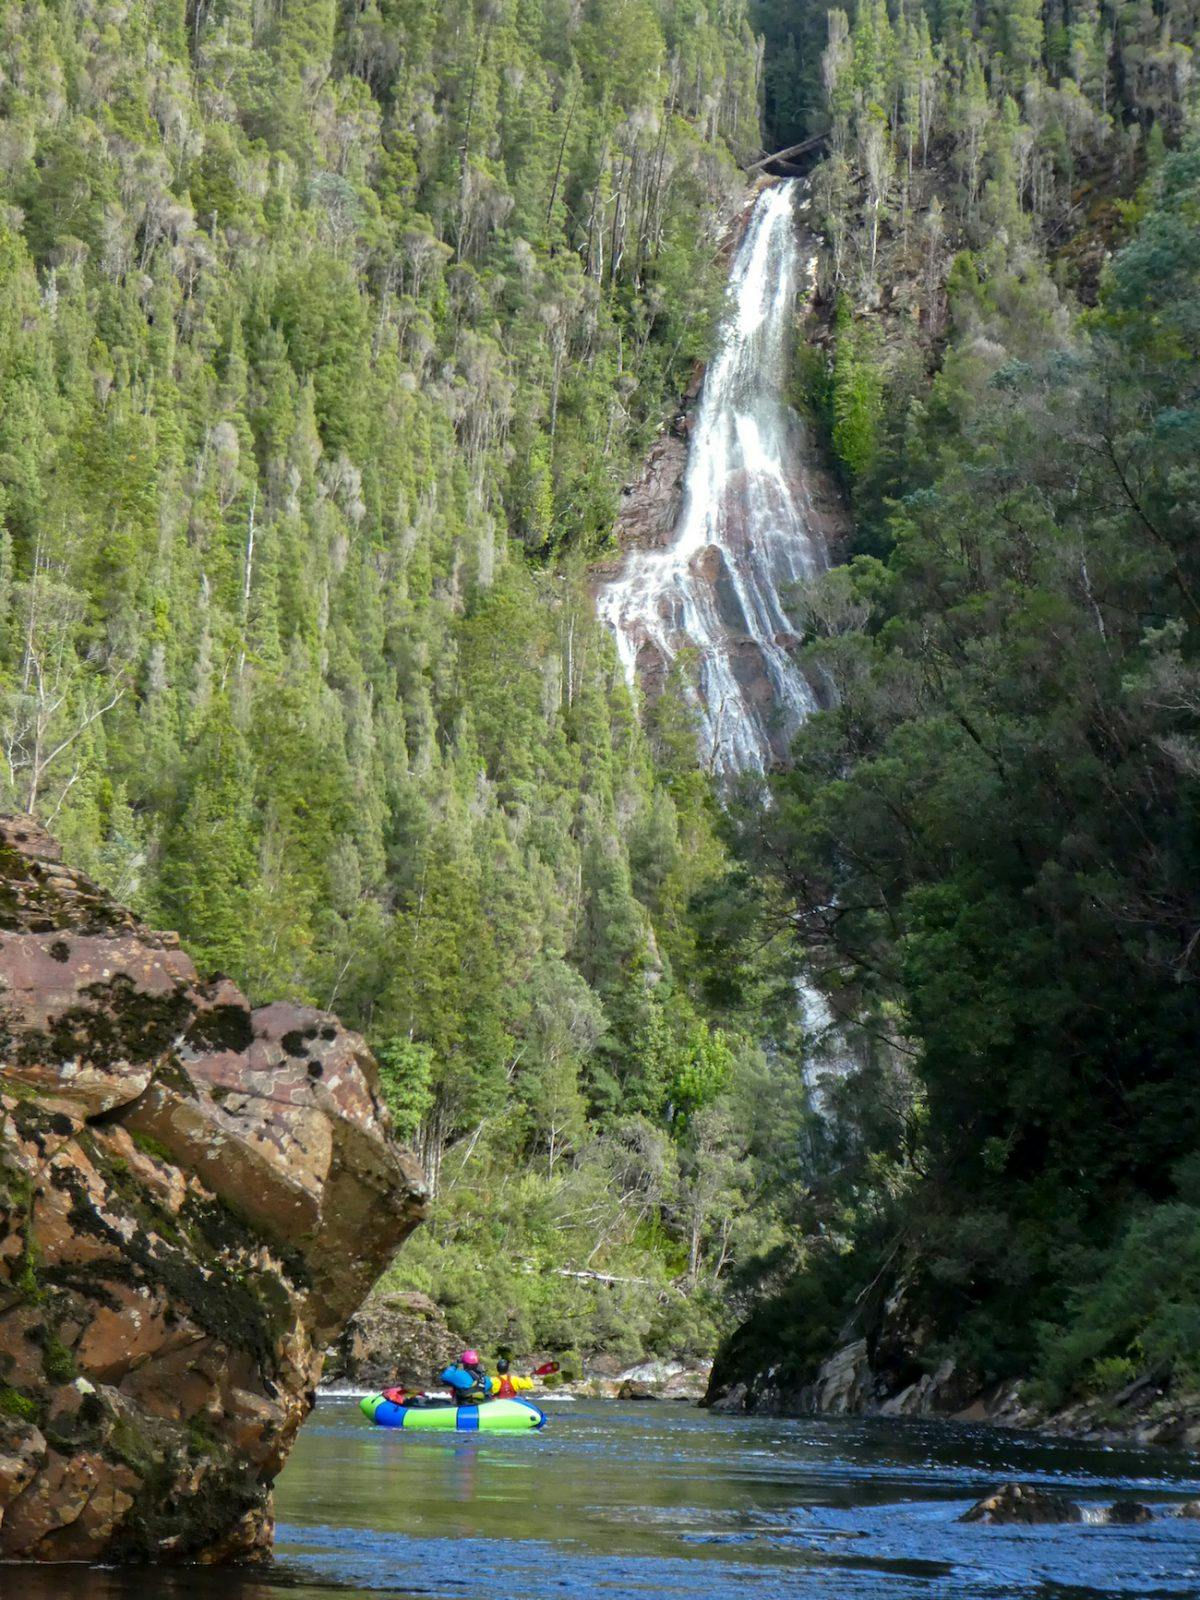
The Franklin also boasts a bit of everything: gorges full of rapids with car-sized boulders, cascading waterfalls, and peaceful pools. Though once famously described as a “brown, leech-ridden ditch” by Robin Gray, former Premier of Tasmania, protesters successfully rebuffed his campaign to dam the river.
Saving the Franklin
In the late 1970s and early 1980s, the Franklin River lay at the heart of one of the largest conservation battles in Australian history. It peaked in the summer of 1982/1983 when protestors formed a blockade with rubber duckies to halt dam works and stop the passage of equipment. Police arrested thousands of protestors, but new waves of protestors arrived to take their place.
This continued for the entire summer. They finally saved the river from in July 1983, a huge win for environmentalists. Australia’s new prime minister Bob Hawke also won his battle with the Tasmanian Government. He luckily had the right to make laws for the environment.
For the first few hours, on the Collingwood River before it spilled into the Franklin, we encountered log jams, boulder gardens, and short swift sections of calm water.
Packrafting Tasmania – a Daydream Turned Real
In January I found myself rattling through the desert on a train in Rajasthan, India, daydreaming about lush green forests and waterfalls. The Franklin River, which had been on my radar for many years, popped back into my mind. I flicked my Australian friend Ben a message on Facebook.
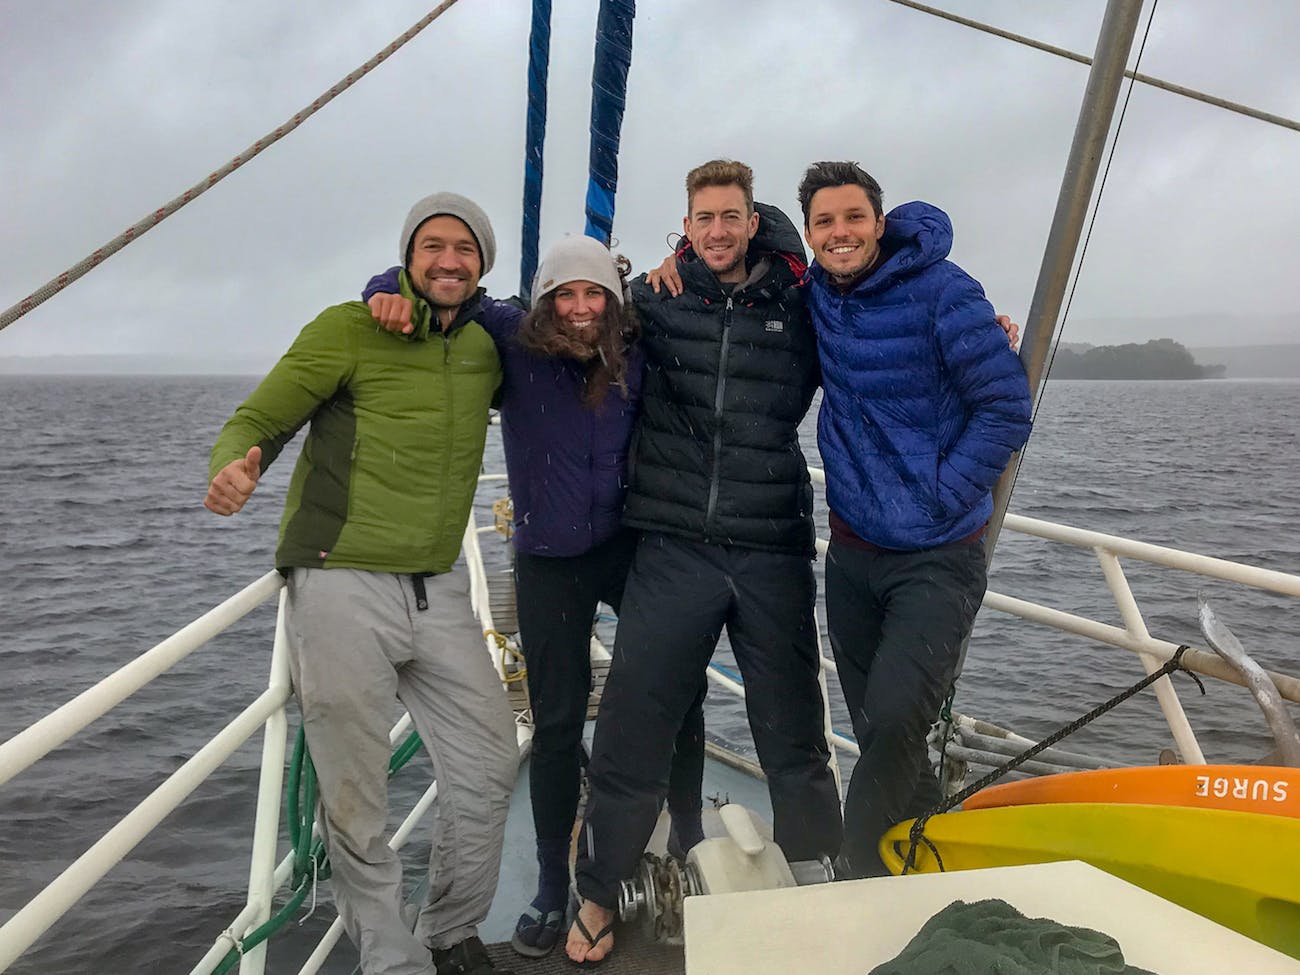
“I’m about to book tickets to Tassie for April, are you keen to come?” Within a few minutes he was in, and a few weeks later we had a crew of four committed for the adventure.
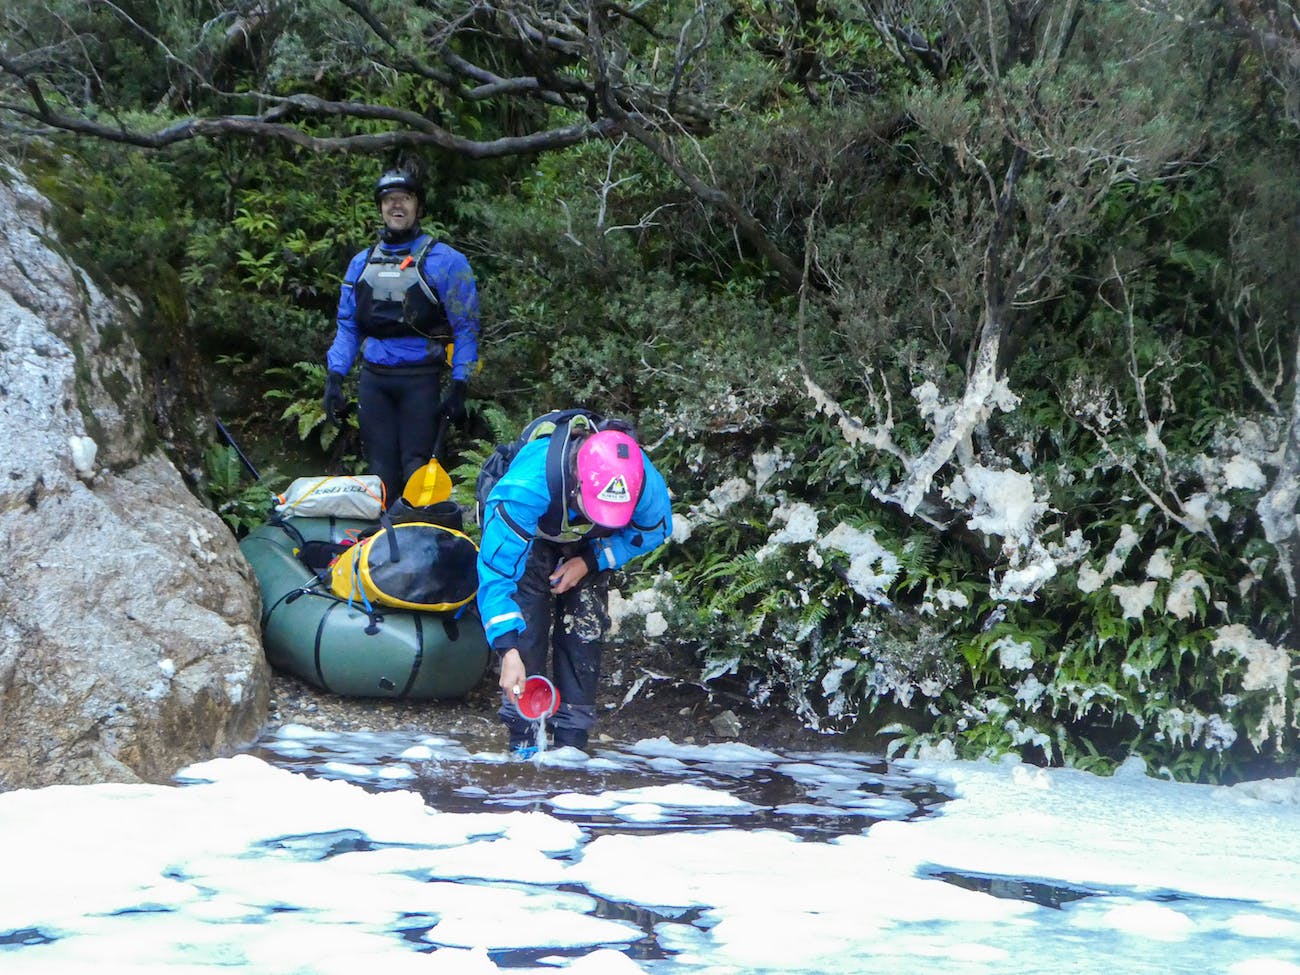
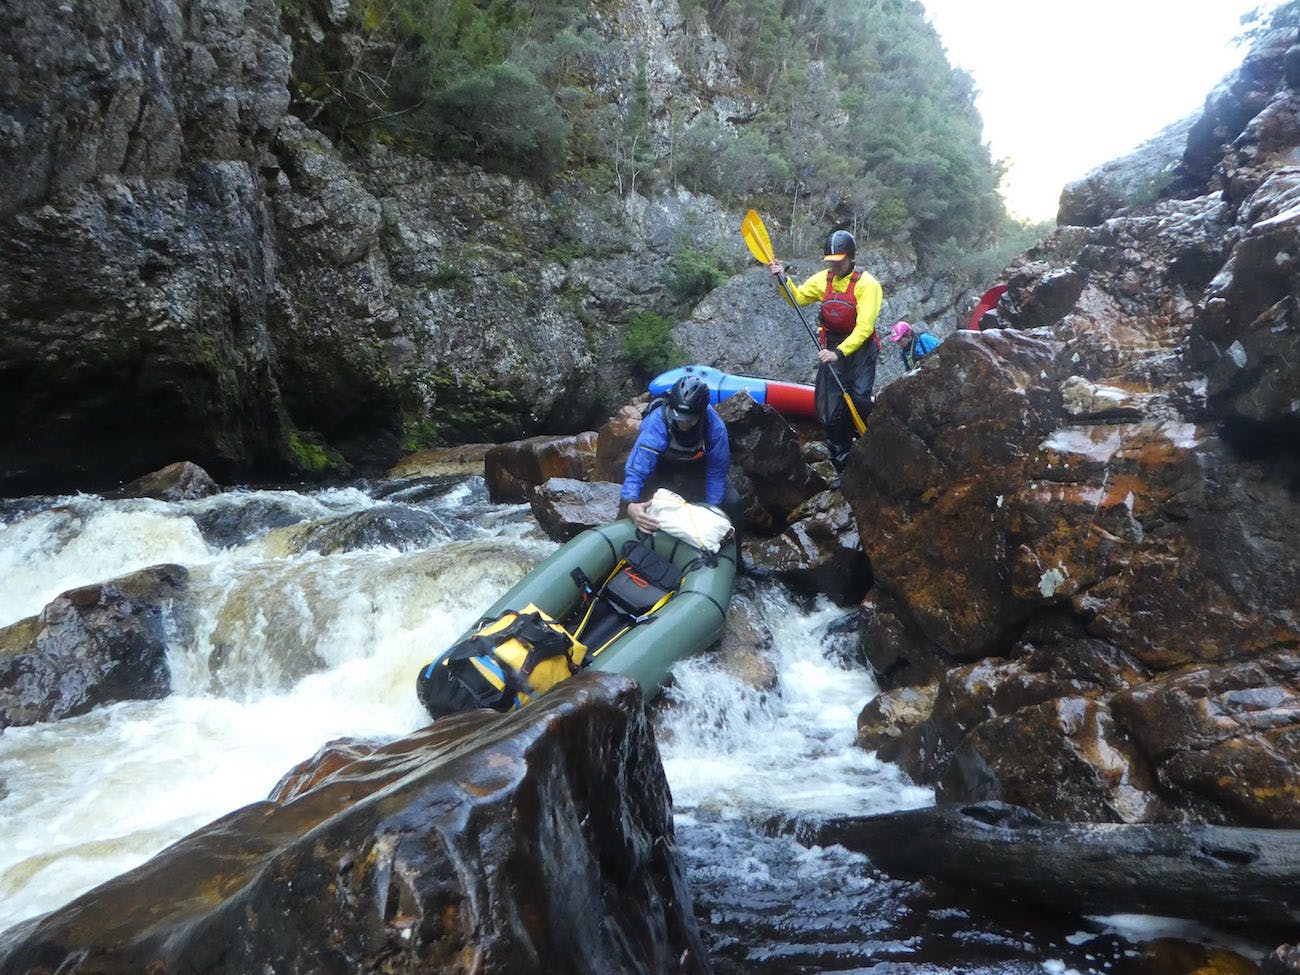
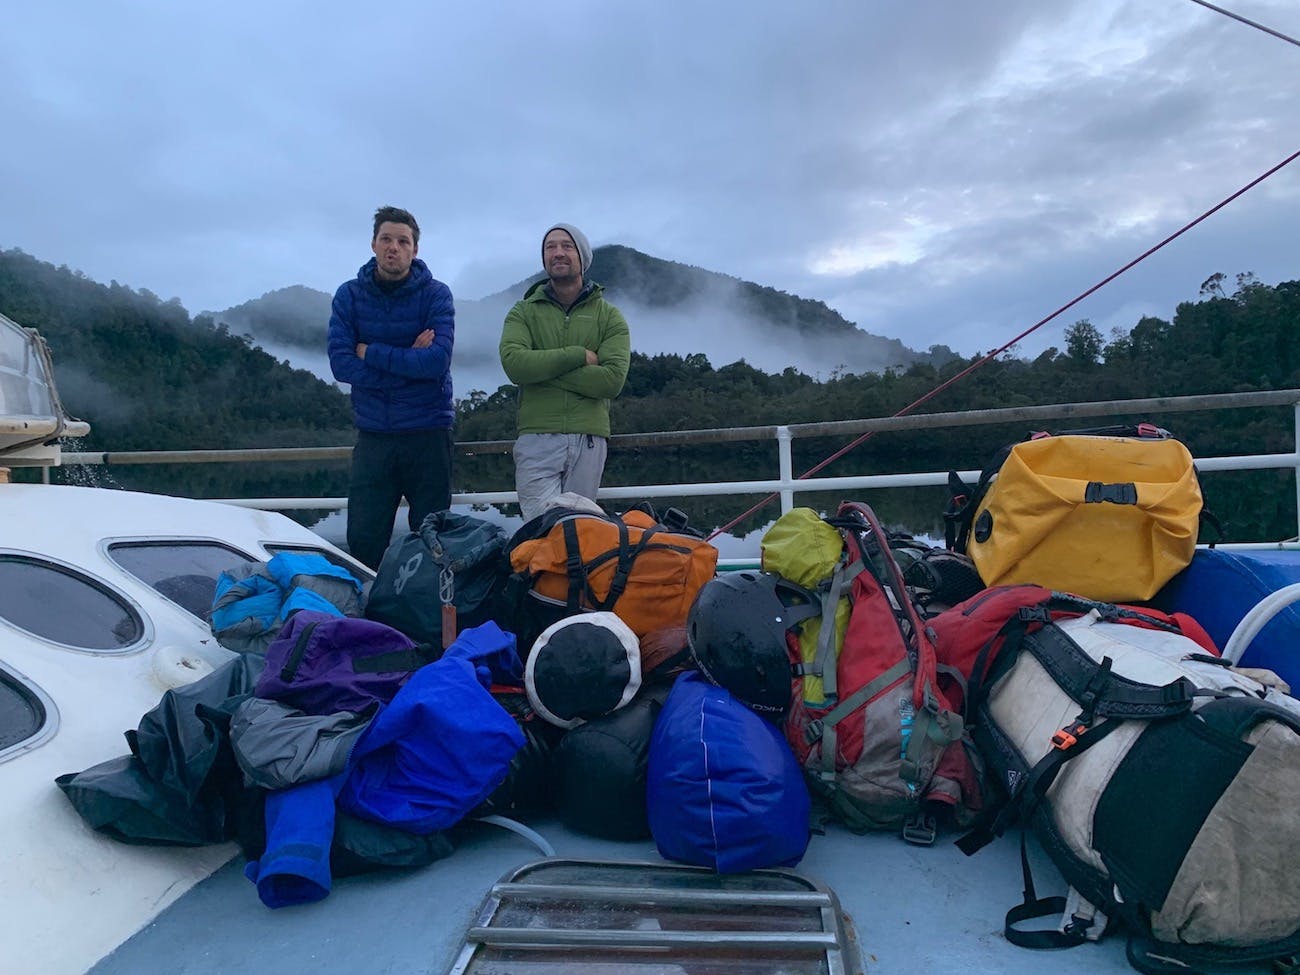
In April, Ben, Gus, Ed, and I loaded everything into Gus’s friend Blinky’s car in Hobart and drove the three hours to Donagy’s Hill Reserve on the Lyell Highway. We exploded our gear on the banks of the Collingwood River and made our first camp, crossing our fingers for nice weather. Anticipation for the unknown was growing.
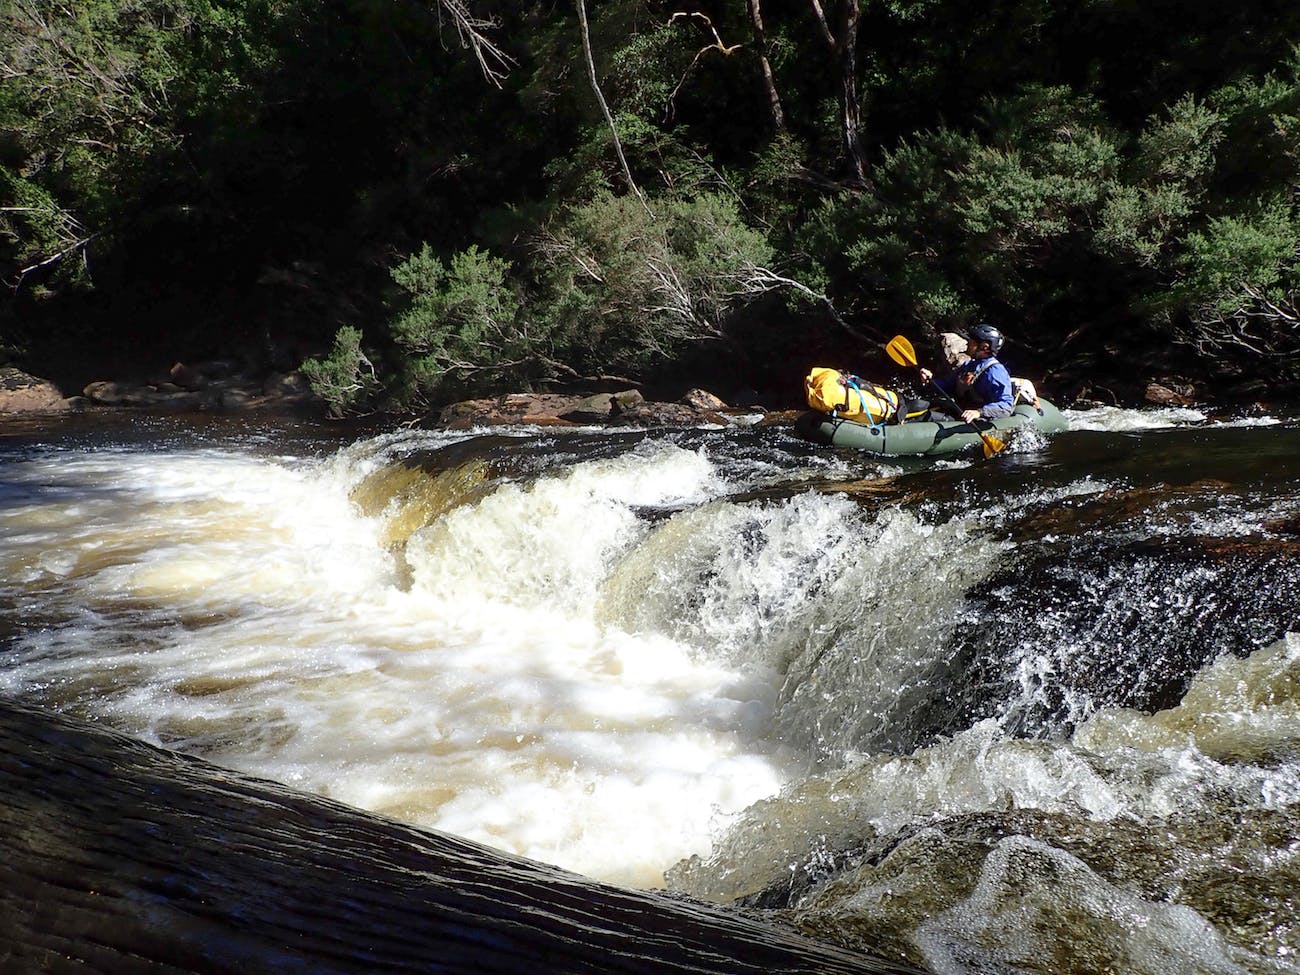
A Picture-Perfect Journey
For the first few hours, on the Collingwood River before it spilled into the Franklin, we encountered log
jams, boulder gardens, and short swift sections of calm water.
The Franklin is a river of many moods and amazing contrasts. Sometimes it’s a bubbly mess. At other times it flows peacefully through steep canyons with the forest mirrored perfectly on the surface.At Arenabyss we scrambled up a cut track to Frenchman’s Cap. Almost all of Tasmania was spread out before us.We slept at Lake Tahune Hut with rain bucketing down on the roof, followed by sleet, snow and icicles around the toilet in the morning.Returning from Frenchman’s Cap, we found the river in a flooded mess, with two of our paddles swirling around in an eddy. Our trip could have ended with us sheepishly walking out at the Arenabyss. The changing moods of the river left us in awe multiple times a day.We completed a high portage of Thunder Rush. The guidebook said that the portage may be just as dangerous as running the actual rapid!We bush-bashed above exposed bluffs, where instant death – or at least a broken femur – could follow a fall. There used to be a precarious cut track here but it had been washed away by a landslide and was now covered in treefall. We used throw bags to make a few short hand lines and lower our backpacks down a bluff.We pulled into an eddy just downstream of Pig Trough, racing darkness and leeches to set up camp in a lumpy but magical spot in the forest. Exhaustion set in, after the two most ridiculous portages of our lives.Nobody in our group had paddled the Franklin before, giving our mission more of an exploratory feel. With limited prior research, we freestyled many campsites and portages, using an old guidebook as a reference for the most dangerous river features.I found myself portaging far more than I normally would. Rapids that I had the skills to easily negotiate often seemed scary, given that the dark water hid terrifying log sieves, with the risk of entrapment in a swim. The remoteness of the river added to both the level of challenge and the feeling of vulnerability out there. The river winds its way through The Great Ravine, with ominously-named rapids like the Churn, Sidewinder, Thunderrush and the Cauldron. We all felt a sense of relief once we popped out of The Great Ravine. The river makes you feel small, as you float downstream in a packraft and look up at cliffs and densely forested slopes towering hundreds of meters above.After Newland Cascades, a 400m runnable rapid, the Franklin changes character and becomes wider and flatter, with limestone cliffs replacing the quarzite riverbanks.Our journey finished with a long flat paddle down the lower Franklin River and into the Gordon River, giving us plenty of time to reflect on the adventure and let our minds wander.Nine days after setting off from the Lyell Highway we were left with a pile of smelly wet gear on a sailing boat at Heritage Landing, bound for the small fishing town of Strahan.Packrafting Tasmania… the combination of quality whitewater, remoteness, epic side hiking and the overall length of the journey made it easily one of the top river adventures of my life.
The chart below shows our recommended size based on your sit length and the Classic’s fit profile. To determine your sit length, sit against a wall with your legs flat (wearing your preferred paddling shoes) and measure the distance from the wall to your heels. The Classic is sized for a relaxed fit, meaning that a typical paddler in the recommended size can fully extend their legs and not touch the bow unless they point their toes when sitting in the boat. You can size up or down for a more performance or relaxed fit.
Sizing Chart
Small (Alpaca)
Medium (Yak)
Large (Llama)
Paddler Sit Length
35-39in | 88-99cm
38-42in | 97-107cm
41-45in | 104-114cm
Exterior Length
89in | 226cm
92in | 234cm
95in | 241cm
Exterior Width
37.25in | 95cm
37.25in | 95cm
37.25in | 95cm
Interior Length
43in | 109cm
46in | 117cm
49in | 124cm
Interior Width at Hip
14.5in | 37cm
14.5in | 37cm
14.5in | 37cm
Max Capacity*
400lbs | 181kg
400lbs | 181kg
400lbs | 181kg
Temper Assist Valve
Our Temper Assist Valve minimizes air loss while inflating and improves your ability to increase the air pressure in your packraft. It is not a true one-way valve that other inflatables may have, which requires a pump to engage the spring and allow air to pass through. The valve is a complement to our lightweight inflation bag and to the air capacity of your lungs.
How the valve works:
To inflate, turn the blue dial counterclockwise to the closed position and thread the inflation bag onto the valve.
While using the inflation bag, the internal flap will close and prevent air loss as you near capacity. The flap will not engage until there is enough internal pressure to push against the flap. Remove the inflation bag after you have added as much air as you can with it. A hiss of air may still escape at this point.
Blow directly into the valve by mouth until you have added enough pressure to make the tubes of your boat firm. Thread the valve cap onto the valve to make an air tight seal. Before you launch, temper your boat in the water and add air until the pressure stabilizes, this may take a few times depending upon water temperature and the volume of your boat.
To deflate, turn the blue dial clockwise to the open position to release air.
Store your boat with the valve in the counterclockwise closed position. This will release the pressure on the flap and prevent it from creating a memory from the open position.
For more information, check out our How To Inflate Your Packraft video on our Product Manuals page.
HOW TO DETERMINE YOUR BOAT SIZE
Your sit length, not your height, determines your boat size. Follow these steps to determine your sit length:
Place the starting end of a tape measure against a wall and pull out at least 48-inches of tape.
Sit against the wall on top of or right next to the tape measure and extend your legs out flat without pointing your toes. We recommend wearing your preferred paddling shoes for this step.
Have a friend measure the tape length to the bottom of your heels. Use a cardboard box if you don’t have an assistant. The distance from the wall to your heels is your sit length.
Our recommended size is based on your sit length and the boat’s fit profile. If your sit length is in between our recommended sizes, we recommend the following:
Classic: The Classic is sized for a relaxed fit, meaning that a typical paddler in the recommended size can fully extend their legs and not touch the bow unless they point their toes when sitting in the boat. We recommend sizing down if you are in between sizes unless you want a lot of extra foot room.
Expedition: The Expedition is sized for a performance fit, meaning that a typical paddler in the recommended size can press their feet against the bow when straightening their legs which provides better control than a relaxed fit and more all-day comfort than the whitewater fit. If you are between sizes, we recommend sizing down to achieve a whitewater fit (especially if you are thinking about adding thigh straps) and sizing up if you want more leg room for longer days on easier water.
Whitewater Series: The Wolverine and Gnarwhal are sized for a whitewater fit, meaning that a typical paddler in the recommended size will be able to deeply bend their knees for maximum engagement in the thigh straps for the most secure high-performance fit. If you are in between sizes, we recommend sizing down for the highest performance fit and sizing up for a better all-day paddling fit.