5 Key Things to Consider When Rigging Your Packraft for Safety
Photos & text by Monica Morin (with the help of the Alaska packraft community)
There are a million ways to rig a whitewater craft, but the idea is the same no matter where you are around the world. When I bought my first packraft, I simply applied these principles. I figured the packraft behaved like a hybrid between a raft and kayak, so why not rig it as such? It was a fun challenge to keep the boat safe but as light weight as possible.
Prepared to Perform
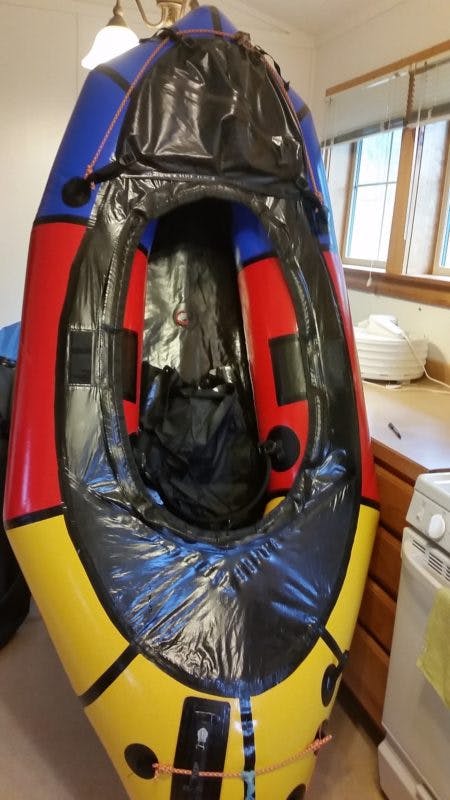
First, I set up my packraft for optimal performance to help prevent flips and swims. When sitting in a loaded boat on the water, it should be plane and not weighted more in the front or back. I rigged my seat far forward so my feet touched the end of the boat with a bend in the knees. This helped to center my body mass and gave my feet something to push against, like in a kayak.
To feel more connected to my boat, I rigged a solid back band and thigh straps and sat up tall with my knees out to the side, also like in a kayak. I bought the cargo fly (the zipper to access the inside chamber of the boat) along with the gear bags that clip inside the chamber of the boat to keep weight low, centered, and in place. Hard sided objects increase the risk of a tear or puncture, so make sure to pad with clothing and use the inflatable gear bags.
If you have more than will fit in the dry bags, load another bag in the nose of the inside chamber of the boat to keep weight forward for punching big holes. I eventually added an extra seat to allow for more power and visibility while paddling, at the expense of a little stability. The newest version of Alpacka’s whitewater performance boats, the Gnarwhal, incorporates all of these modifications with the addition of a higher performance, roll able design, a foot block, and a sturdy floor. If you have an older Alpacka raft, Luc Mehl has a great website with step by step instructions of how make the alterations.
Rig to Flip
To prepare for the unexpected flip or pin, make sure your gear will remain on or with your boat. The loose water bottle, dry bag being used as a foot rest, or Therma-Rest acting as a barrier for warmth will likely be another piece of trash in the river and gear lost if a boat flips. Safely secure all items.
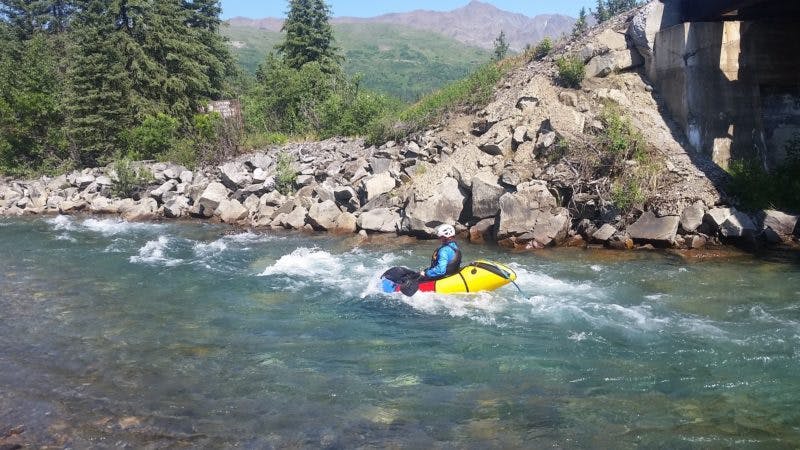
With the advent of the cargo fly, most people are running with a “clean deck” meaning, they do not have a backpack tied to the bow. I have a bow bag, which is handy to put in everything needed throughout the day. Deflating your boat for an extra layer, patch or first aid kit is a bummer, so make sure to think things through at the put in. Running with a clean deck minimizes entrapment hazards while keeping weight low and centered in your boat. Sound familiar? If you do rig a backpack on the front of your boat, turn the shoulder straps around and clip the sternum strap to the backside of the pack. Repeat this for the waist belt. On whitewater, you do not want a loop large enough to fit your hand through, so make sure all straps are tucked away and loops are hidden and secured. Clips can break under high force, so make sure to run a line through something solid on your backpack like the ice axe loop.
Non-locking carabiners have no business being on the river, on your PFD, or on your boat. It is very easy for the strap of your PFD to accidentally clip into a non-locking carabineer. Then you are attached helplessly to your boat. If you chose to use carabiners for rigging, make sure they are locking and are actually locked.
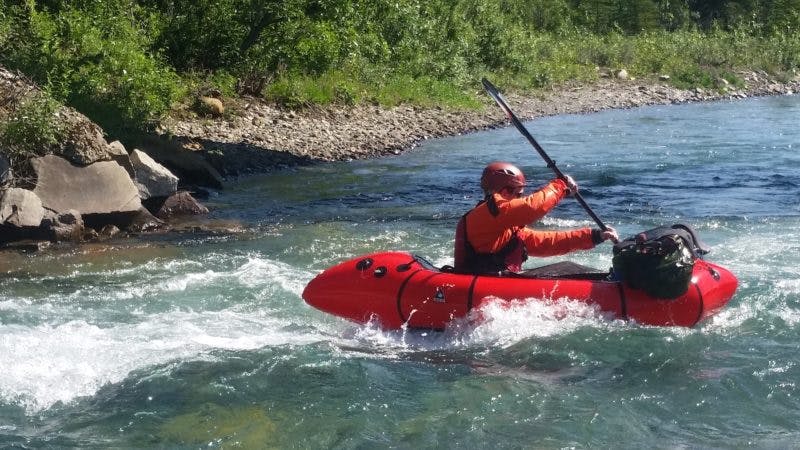
Dress to Swim
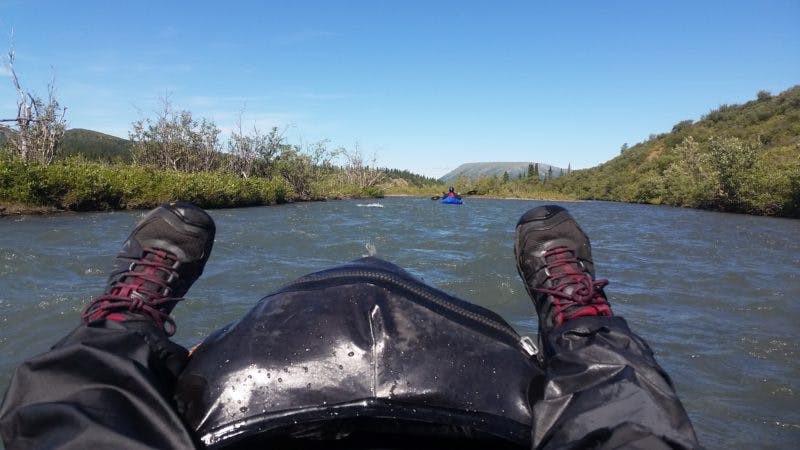
Most folks from Alaska are pretty keen on how cold it can be up here. I actually find it easier to dress for the river in Alaska than I do in the winter in Arizona. I simply wear a dry suit with warm clothes underneath. If you go for a long swim or have to deal with a rescue while in the water, it’s better to be prepared. I did splurge on an Alpacka dry suit, which is far lighter and compact than my normal Kokatat but just as dry. That way I’m less apt to find an excuse to not bring it. If canyoneering or worried about ripping the suit, I wear clothes on top to protect it. Also make sure you are wearing shoes that you can hike with and that you won’t lose in a swim. Lately I’ve been wearing light weight hikers. They’re good for both in and out of the water.
Prepared to Rescue
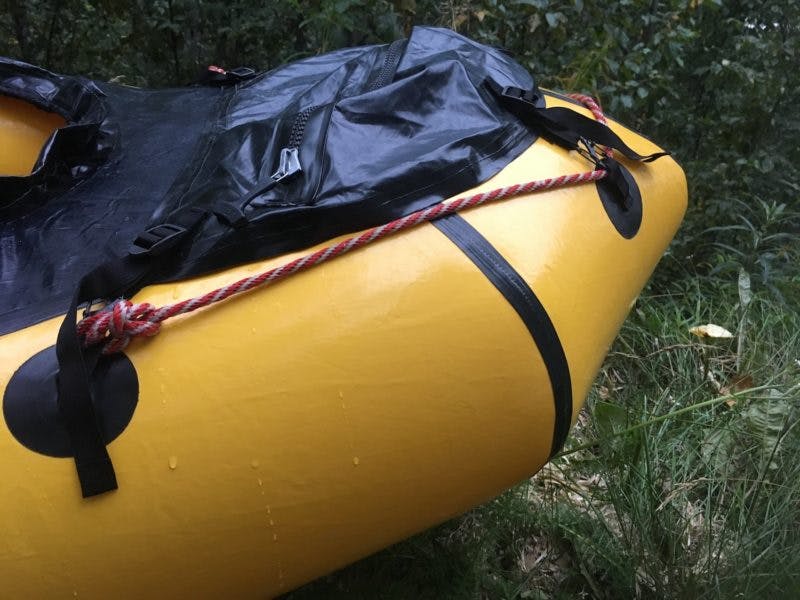
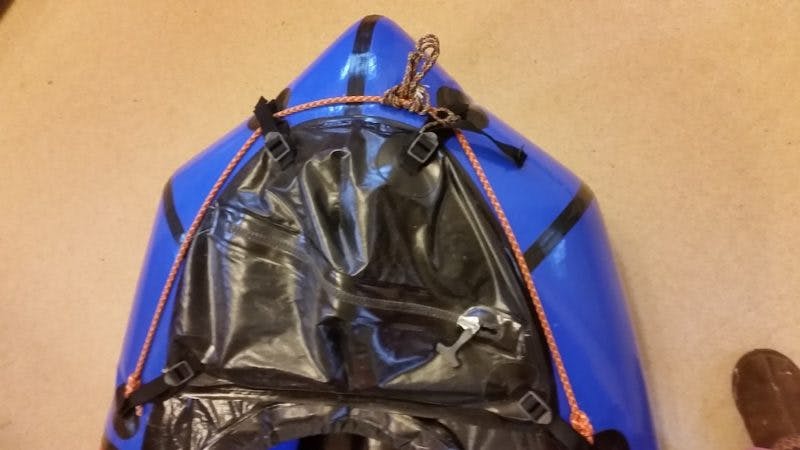
After feeling good about the performance of the boat, I rigged a perimeter line. This is used to hold onto while swimming and also gives a rescuer a quick place to clip to if he or she has a rescue vest with towing capabilities or if a boat is pinned. Perimeter lines are standard in oar rafts and are essential on a packraft since there is nothing to hold onto otherwise. Make sure the line is strong enough for rescue, like 6mm chord, and tied securely. A Bowline is commonly used. The perimeter line can be a possible entrapment hazard. Minimize this by keeping the line tight to the boat and just around the bow and stern leaving the sides open for re-entry.
The perimeter line at the stern can act as a tow line for a swimmer. You can also add a thicker piece of webbing between the rear two points, which is easier to hold onto than chord. A swimmer can either hold on and kick just like in a kayak rescue, or pull him or herself mostly onto the back of a boat if needed.
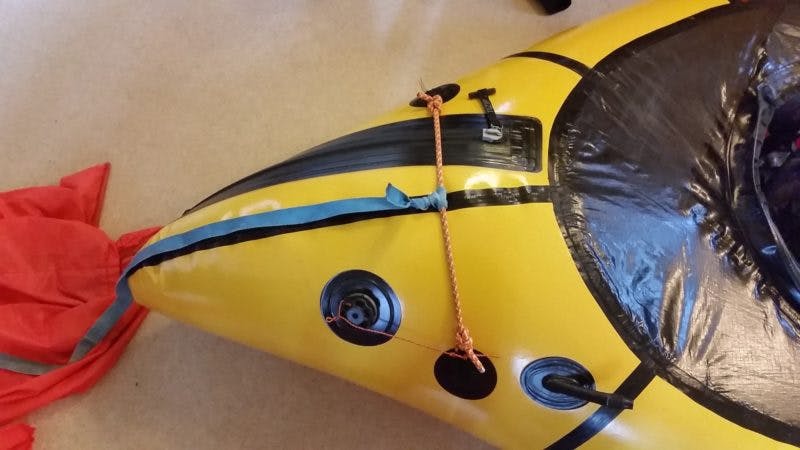
I rigged a leash, a 2-3-foot long piece of webbing trailing centered behind my raft. Many boaters no longer use a leash due to the possibility of it wrapping around an arm or leg. If you keep it short, so it cannot wrap around your leg more than twice, and without a knot at the end of it, you can help mitigate the hazard while still allowing for quick retrieval of your boat during a swim. A high visibility color is helpful when searching for the leash in the water. The leash debate is heated. Weigh the risks versus benefits and make a conscious decision.
A bow line is also imperative so you can easily tie off or line your boat. It should always be tied up appropriately and not trailing in the water. I use a coil girth hitched to my perimeter line, which is a common way to secure the line on oar boats. It is quick and easy to deploy when needed but is secure throughout the day. Long lines trailing in the water are significant entrapment hazards! If you are putting lines on your boat, please be mindful of how to maximize benefits while minimizing hazards.
There are a million ways to rig a boat. The most important things to consider are:
- Rig your boat for optimal performance to help prevent a flip or swim.
- Eliminate entrapment hazards of dangling lines, loops, and non-locking carabiners.
- Rig a partial perimeter line to hold onto during a swim or clip to during a rescue. Keep it tight to your boat and only at the bow and stern to minimize entrapment hazards.
- Rig a bow line that is secure but easily accessible to tie off or line your boat.
- Rig an optional leash that is long enough to grab in the case of a swim but short enough to minimize entrapment hazards (usually 2-3 feet).